So I completely lost confidence in our Mac Mini after the power surge issues and decided to build a new file server. I wanted something small and quiet built from standard components that would run Ubuntu server. I spent some time looking about and decided on the following build:
Case : Antec Mini ISK110 Vesa
CPU: Intel G2030 Pentium
CPU Cooler: Stock (if possible)
RAM: 4GB Generic
Motherboard: Gigabyte GA-H61N-D2V
Drives: 2x500GB 5400RPM 2.5″ laptop drives
Total cost was around AU$400. I ordered the case from an online vendor, the motherboard from eBay and the rest of the components were sourced from MSY Computers.
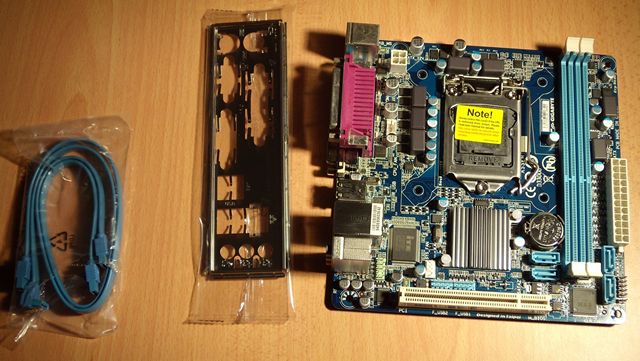
Gigabyte GA-H61N-D2V Motherboard
The mini-ITX format motherboard from Gigabyte (see above) shipped with a back plate and two HDMI cables. It has USB ports via the rear panel, has two RAM slots, 4 on-board SATA3 ports and supports any LGA1155 pin Intel PC. If the installed CPU has a GPU then there’s an available HDMI port too.
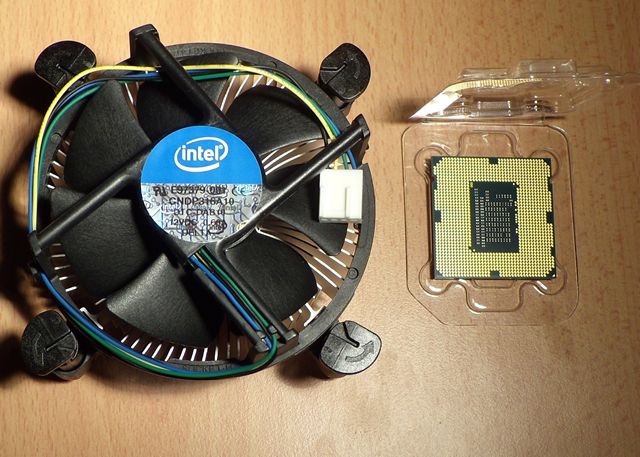
Intel G2030 Pentium and Stock Cooler
I chose the G2030 Pentium from Intel because it has on-board video, two cores, and a 55W thermal design load. And it was cheap. This is a file server so I didn’t see the need for excess CPU cycles. There’s a mobile version of the G2030 that has a TDP of 35W but that was more expensive and not available locally.
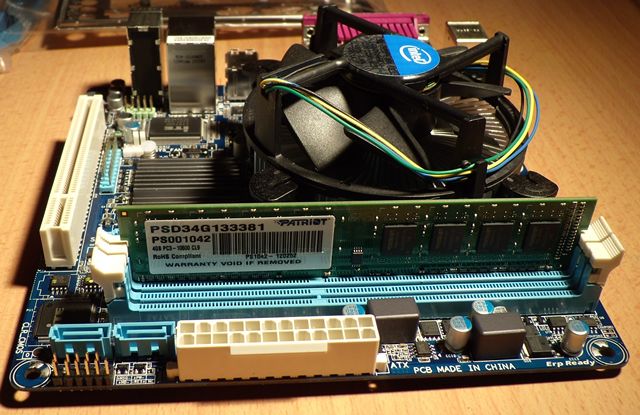
Motherboard with Installed CPU and RAM
As I usually do I installed the CPU, fan, and RAM to the motherboard before the board went into the case. No issues here, everything went in smoothly. I was hoping the stock fan would fit in the small Antec case. If not I would have to purchase a low profile HSF unit like this Noctua unit. It turns out the stock fan DID fit and is very quiet at low RPM.
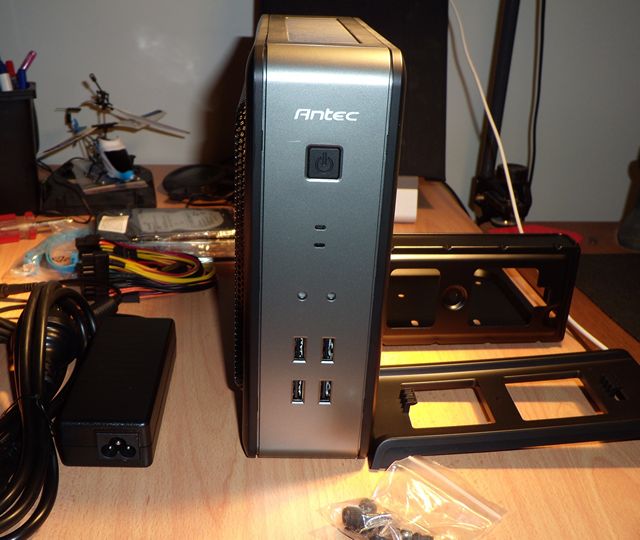
Antec ISK 110 Mini-ITX Case
Above you can see the Antec case I chose. It comes with a 90W external power supply, has 4 USB2.0 front panel ports, has space for two 2.5″ drives internally and supports the mini-ITX motherboard format. It comes with a desk stand (which you can see on the right) and a VESA bracket so you could bolt it to the back of a monitor or TV. Ideal if you wanted a small format media PC or all-in-on PC solution. The case itself is about the size of a large format paperback novel. Quite a bit bigger than a Mac Mini but still very small.
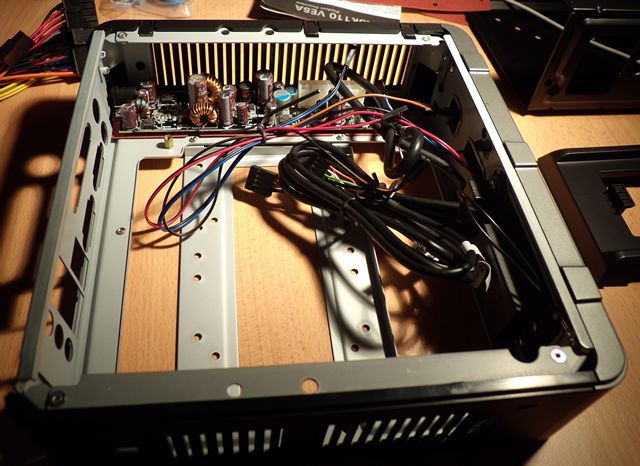
Antec ISK 110 Mini-ITX Case Internals
Here’s the guts of the case. The cables on the right are all for the front panel. At the top is the PSU.
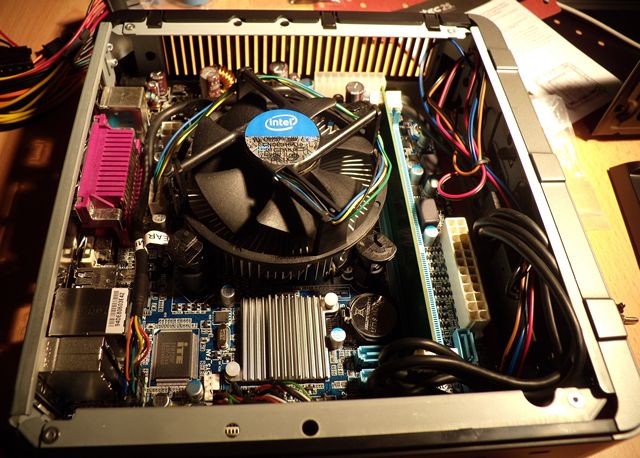
Motherboard Installed
The motherboard went into the case without too much trouble. The front panel cables are stiff and impede on the area where the mother board wants to sit. So they need some bending to move them out of the way. Also, the back panel insert needs to be removed to fit the motherboard but it’s easily replaced with the back panel that shipped with the motherboard.

Back Panel
Here’s the back panel. The usual array of connections are available.
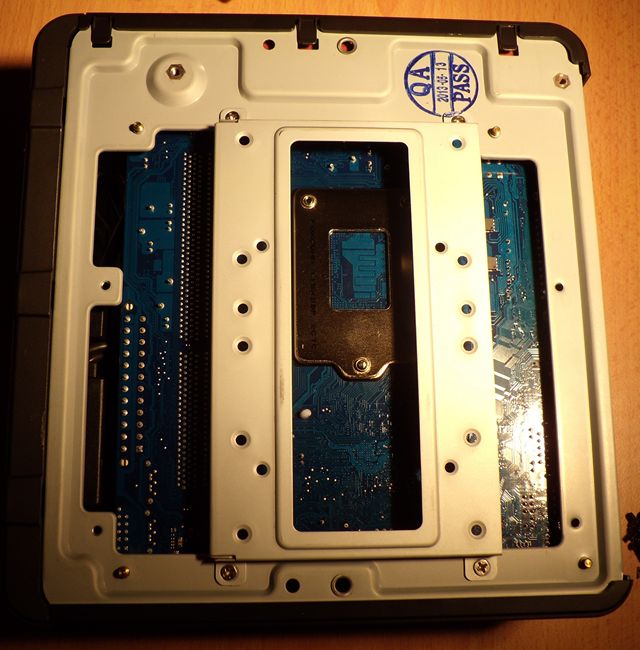
HDD Cage
The cage for the two internal HDD’s is on the back of the case. In this image the cage is in the center of the image and attached by a screw at each corner. It was simply a matter of removing the cage and applying the included adhesive anti-vibration pads. You can see what this looks like below.
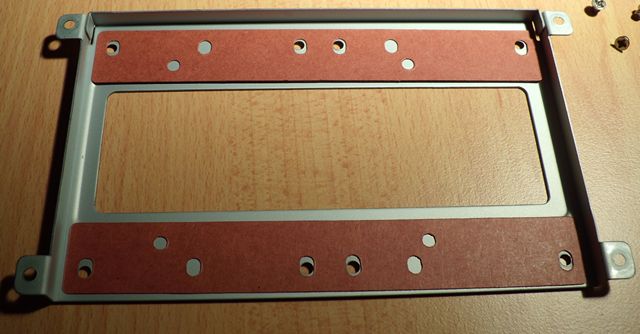
HDD Cage with Anti Vibration Pads
My two 2.5″ hard disks then simply screwed into the cage with the screws that were included with the case. The only issue here was to ensure that the drives were aligned correctly so that power cables and SATA cables could be routed easily to the drives.
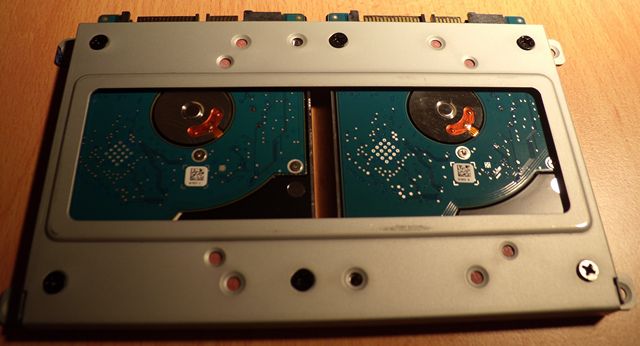
Hard Drives in Cage
Once I’d screwed the cage back to the case and routed the SATA cables and power cables from the front of the setup looked very neat indeed. You can see what it looked like below. My only comment is that you’ll want two SATA cables with 90 degree bends on one end to make the job of connecting up the drives as easy as possible.
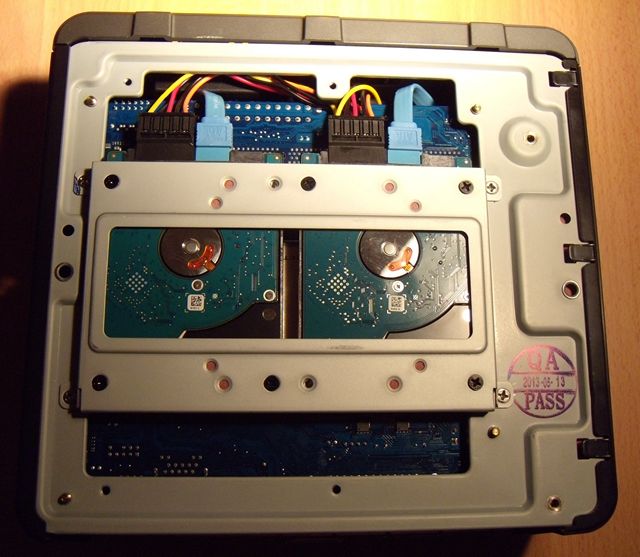
Hard Drive Installation Completed
The final step in the process meant flipping the case back over and finishing off the cabling to the motherboard. The ATX power supply harness was very rigid and needed some work to get it bent to the shape I wanted. Once I’d done that the rest of the cabling was easy enough. I managed to tuck away a lot of the cables in the edge of the case out of sight to neaten things up. You can see the final result below. One comment I would make here is that while the Gigabyte motherboard does have a PCI-E slot I would be dumbfounded if you could fit a card in this case. There just doesn’t seem to be enough clearance.
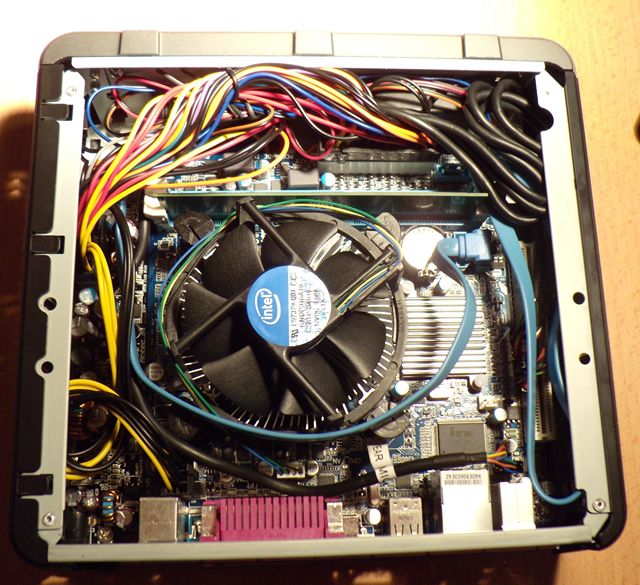
Cabling Complete
And here’s the final product with the sides of the case back on. Lot’s of ventilation means that it can run with the CPU fan idling away silently at 900RPM or so and there hasn’t been a need for a case fan at all. Admittedly it’s winter here and with room temperatures of less than 20 degrees Centigrade the CPU temperature has been sitting at about 40 degrees for several days now. I can wind the fan speeds up during the hotter parts of the year if needed.
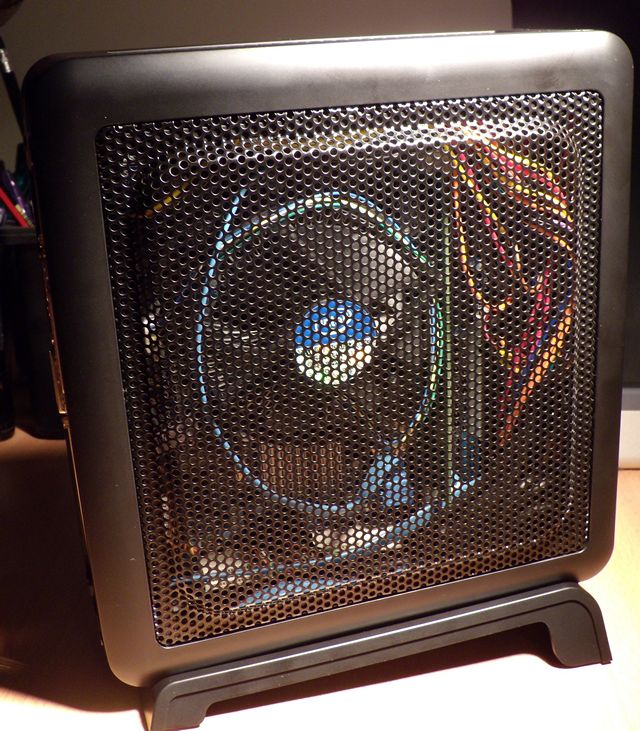
Completed Teeny Tiny Computer
I installed Ubuntu Server 13.04 on the machine and setup the disks in a RAID1 configuration. Installation was very smooth and without issue. I even had time to do a few experiments removing the disks to make sure the computer still booted and I could recover data from the degraded array.