This is the second set of images I took of the installation of our rooftop solar energy system that was installed a couple of days ago. This time all the images are of the inverter, the bit that converts the DC (direct current) power generated by the solar panels into AC (alternating current) power suitable for use in our house or for feeding back into the power grid. I decided on Sunny Boy inverter because they have a reputation for being reliable and efficient. No point skimping here, I just wanted something that worked and worked well. Our unit is a Sunny Boy STB 4000TL which has a nominal 4.2kW capacity, a nice digital display and Bluetooth communications for remote monitoring. These units are made in Germany and from what I’ve read are one of the most reliable inverters on the market today.
We decided to have our inverter installed in the garage for security reasons and to keep it out of the weather. The wall in there is a simple gyprock (dry wall to most people) clad stud wall so installation was pretty simple. Below you can see the inverter in various states of installation.
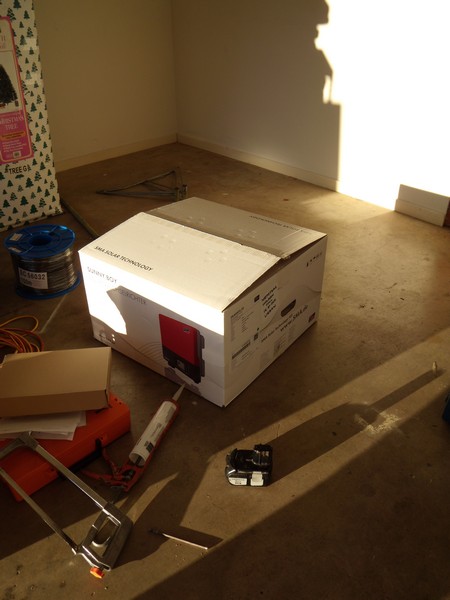
The Inverter in a Box
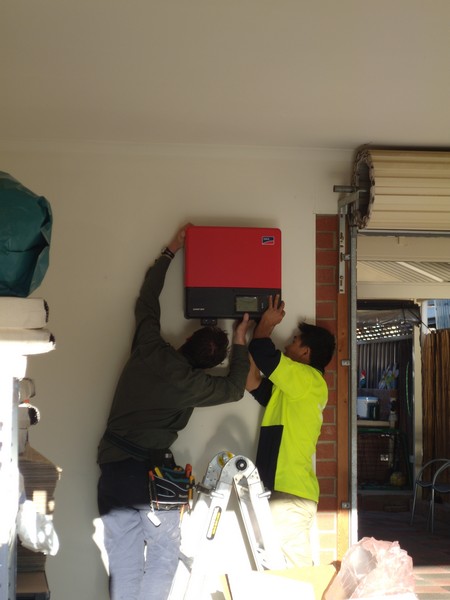
Mounting the SunnyBoy Inverter on the Wall
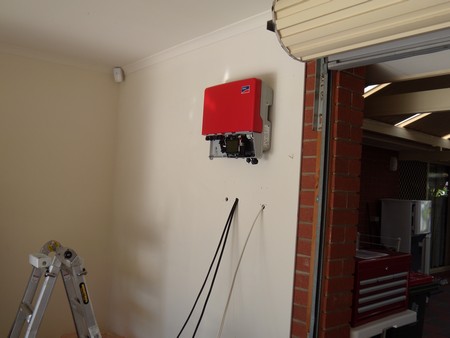
Chasing Wires up the Wall Cavity
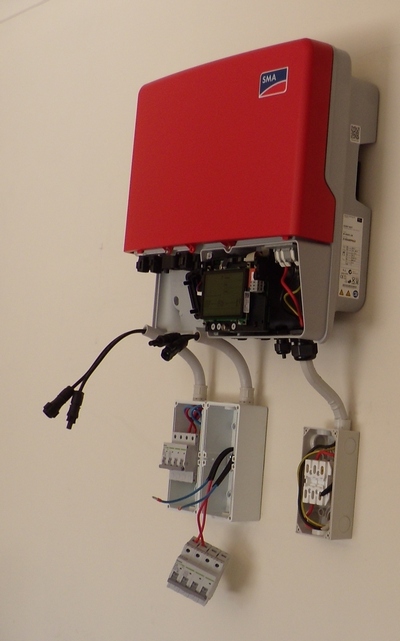
Installing DC Breakers and Solar Isolation Switch