Here’s a helpful snippet that will preload images with CSS. Stops that annoying lag when using CSS to switch images and the image isn’t pre-loaded.
body:after {
	display: none;
	content: url("filename1.png") url("filename2.png");
}
Here’s a helpful snippet that will preload images with CSS. Stops that annoying lag when using CSS to switch images and the image isn’t pre-loaded.
body:after {
display: none;
content: url("filename1.png") url("filename2.png");
}
Despite being a non-drinker my lovely partner, Kathryn is enabling my new home brewing hobby with the quiet patience that only the most lucky of home brewer’s partners must show. She’s gone out of her way in the last couple of weeks to buy me a flash new 15 litre stainless steel brew pot and then some nice adhesive stencils so I could etch the inside of the pot with volume markings. This makes it far easier to fill the pot to a given volume of water without all that tedious mucking about with measuring jugs. Note that this method will only work on stainless steel and you should test it out on an unobtrusive part of the pot before you etch the inside. Any mistakes made in there will be looking back at you every time you brew so get it right. Here’s how I did it:
The end result is pretty nice, perhaps a bit rough around the edges but not bad for a rank amateur like myself. See for yourself:
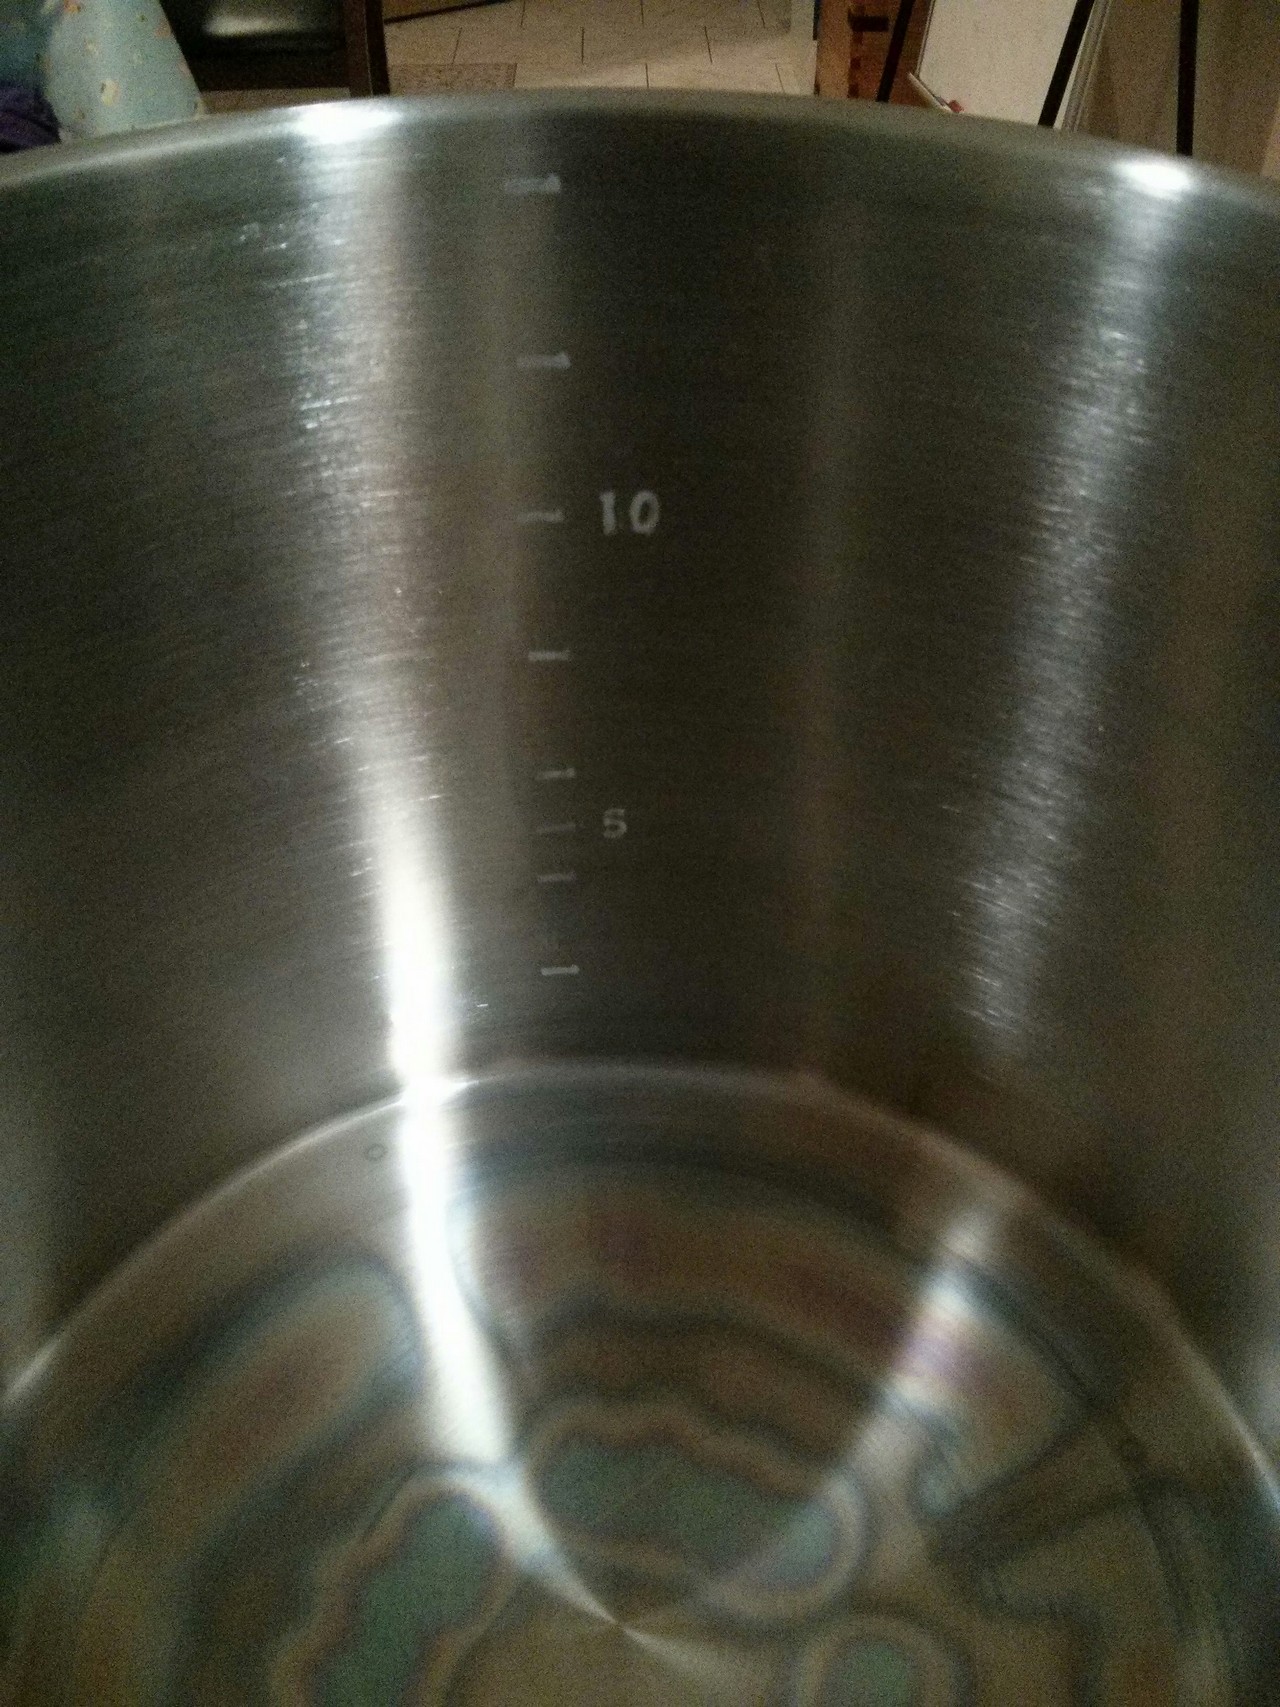
15L Brewpot with etching
Thanks to this article on Brew Your Own for the inspiration for this little project.
I’ve been more than delighted with my extract American IPA I wrote about here so I was keen to try out another extract brew. My LHBS had Coopers Amber Malt Extract on special so I picked up a can of that and spent a week designing a beer that would use it. I settled on a 13 litre batch of a single hop American Brown Ale. I wanted to try another American hop so settled on Cascade which can be used as a bittering and flavouring hop that adds citrus notes. The recipe is as follows:
1.5KG Coopers Amber Malt Extract
0.45KG Light DME
0.05KG Bairds Pale Crystal Malt
0.10KG Bairds Chocolate Malt 1230EBC
0.05KG Brown Sugar
20g Cascade @ 60 mins 7.6%AA
20g Cascade @ 5 mins 7.6%AA
50g Cascade dry hopped after 7 days for a week
SAFALE US-05 yeast harvested from previous brew.
Brew Type: 13L Extract
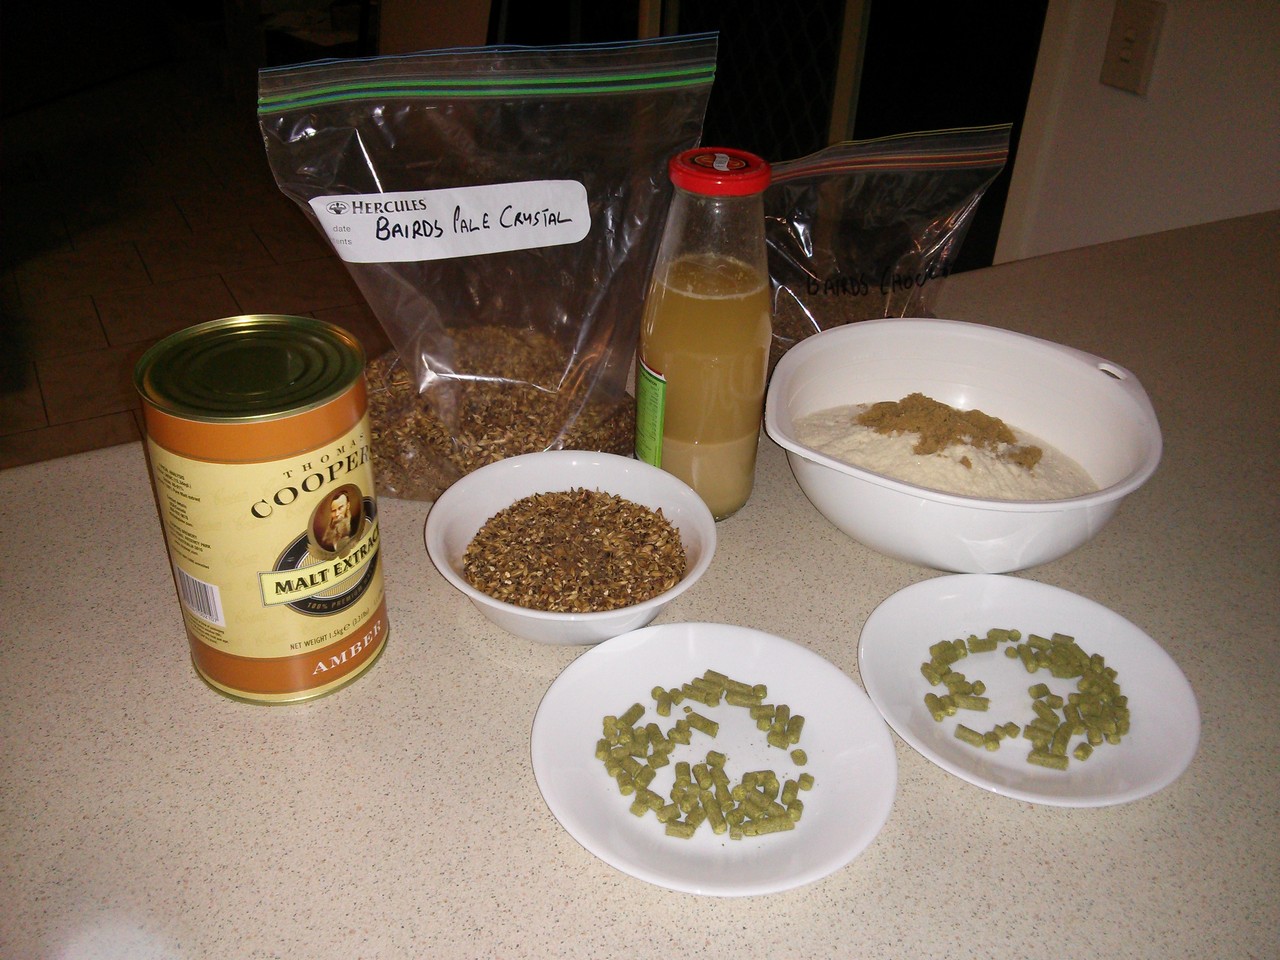
Brew Ingredients including Amber LME, light DME and sugar, 40g of Cascade hops, two types of crystal malt and harvested yeast
OG: 1.052
FG: 1.013
ABV: 5.4%
I went for an easier drinking beer this time as my last two brews have be delicious but after one 750mL long neck of either I am done for the night. I was hoping this beer would go down a bit easier. I also dialed back the amount of crystal and sugar to keep it under 10% of fermentables based on recommendations I’d read on various forums.
Method:
1. Steep the light and chocolate crystal in a muslin in 66-70C water for 30 minutes.
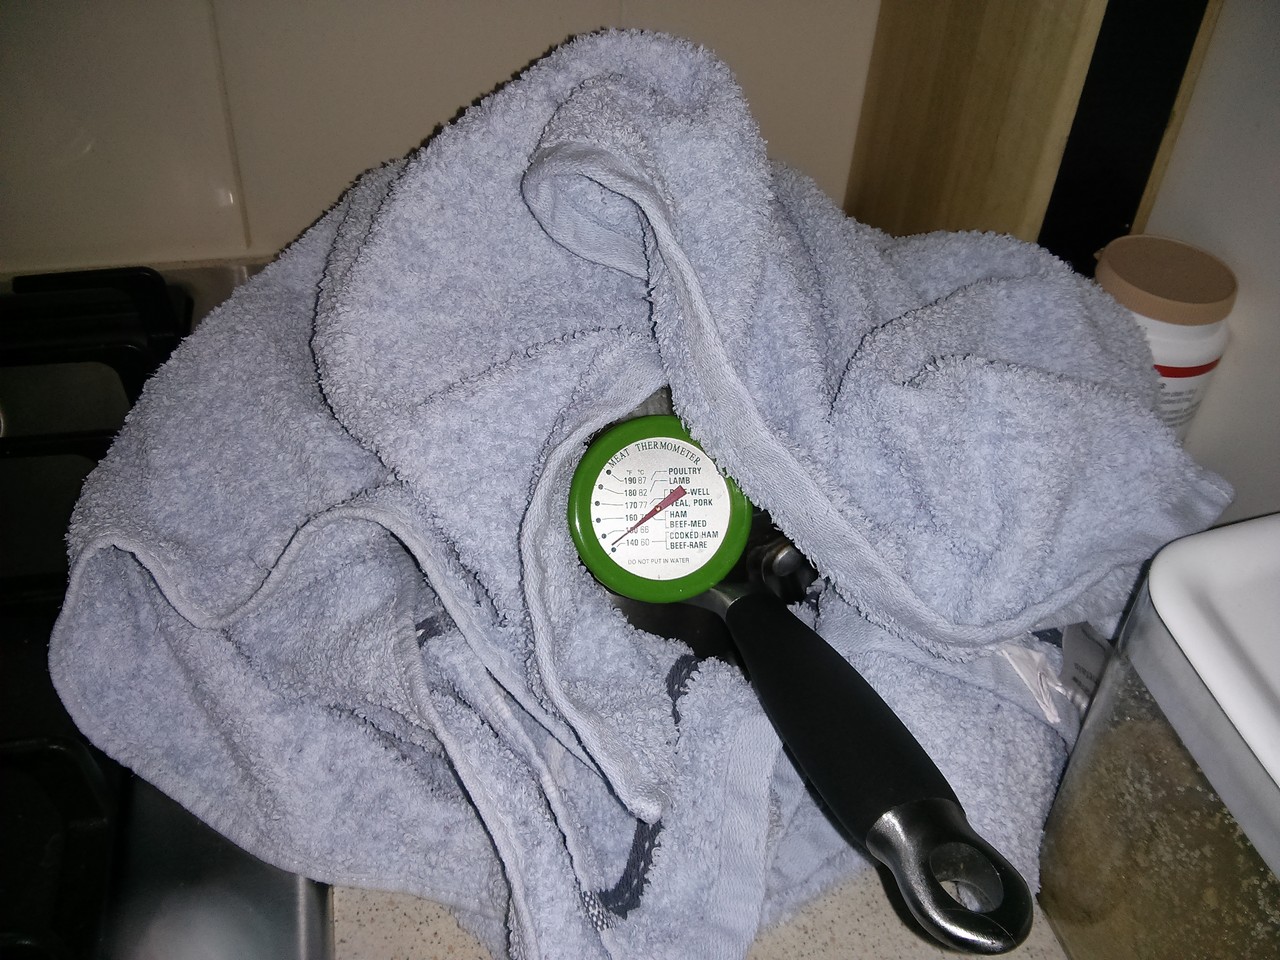
Light Crystal and Chocolate Malt Steeping Nicely
2. Bring 9L of water in brew pot to boil.
3. Sparge crystal with 1L of 70C water (I forgot to do this and just drained the muslin) and tip into brew pot.
4. Add 1.2KG of the Amber LME to the brew pot to bring the SG up to 1.040 to maximise hop utilisation. Bring pot to rolling boil and add 20g of Cascade.
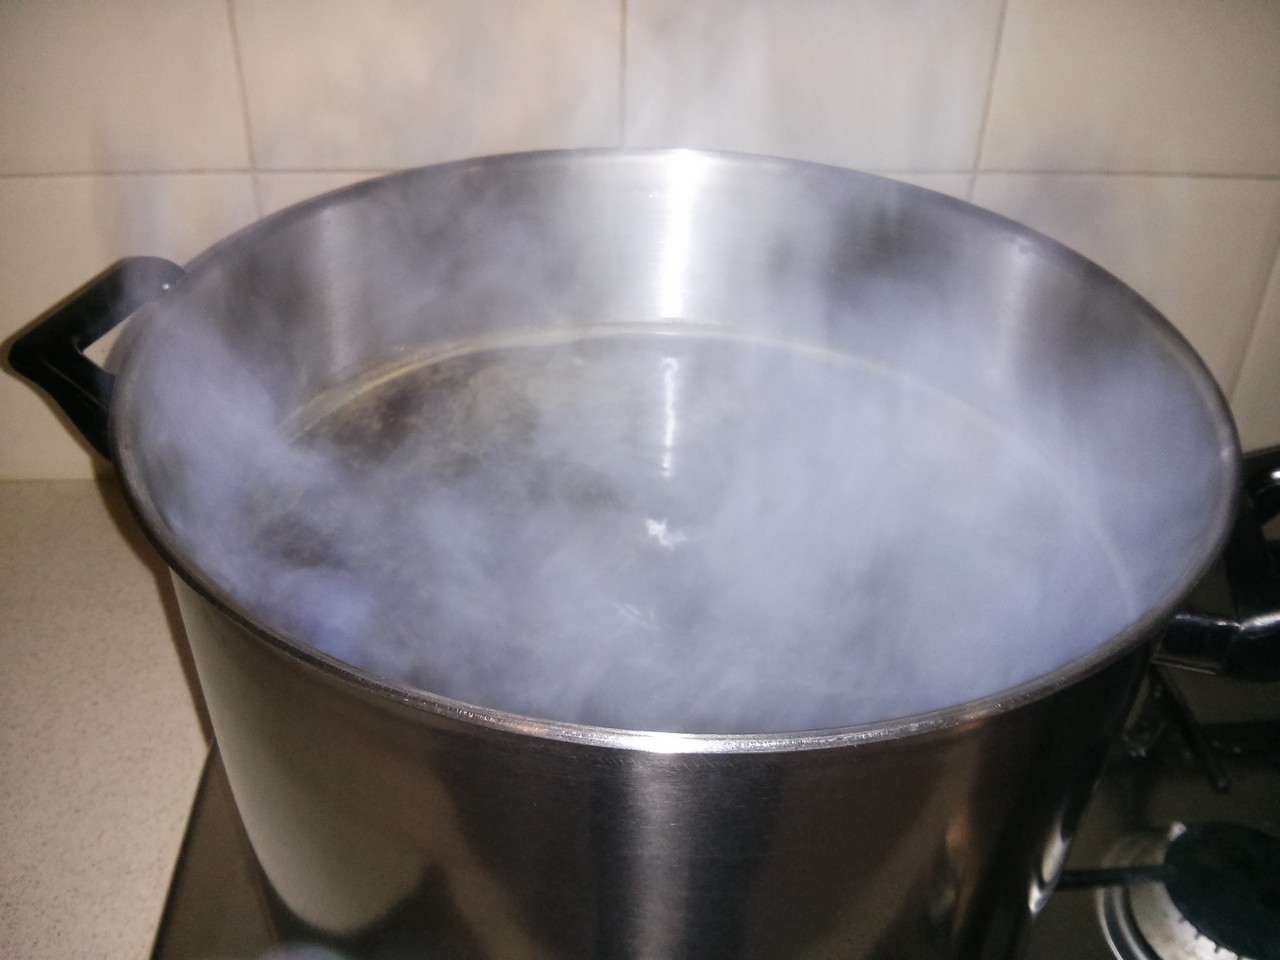
Boiling wort in my new 15L brew pot (thanks Kath :))
5. At 55 minutes add the other 20g of Cascade.
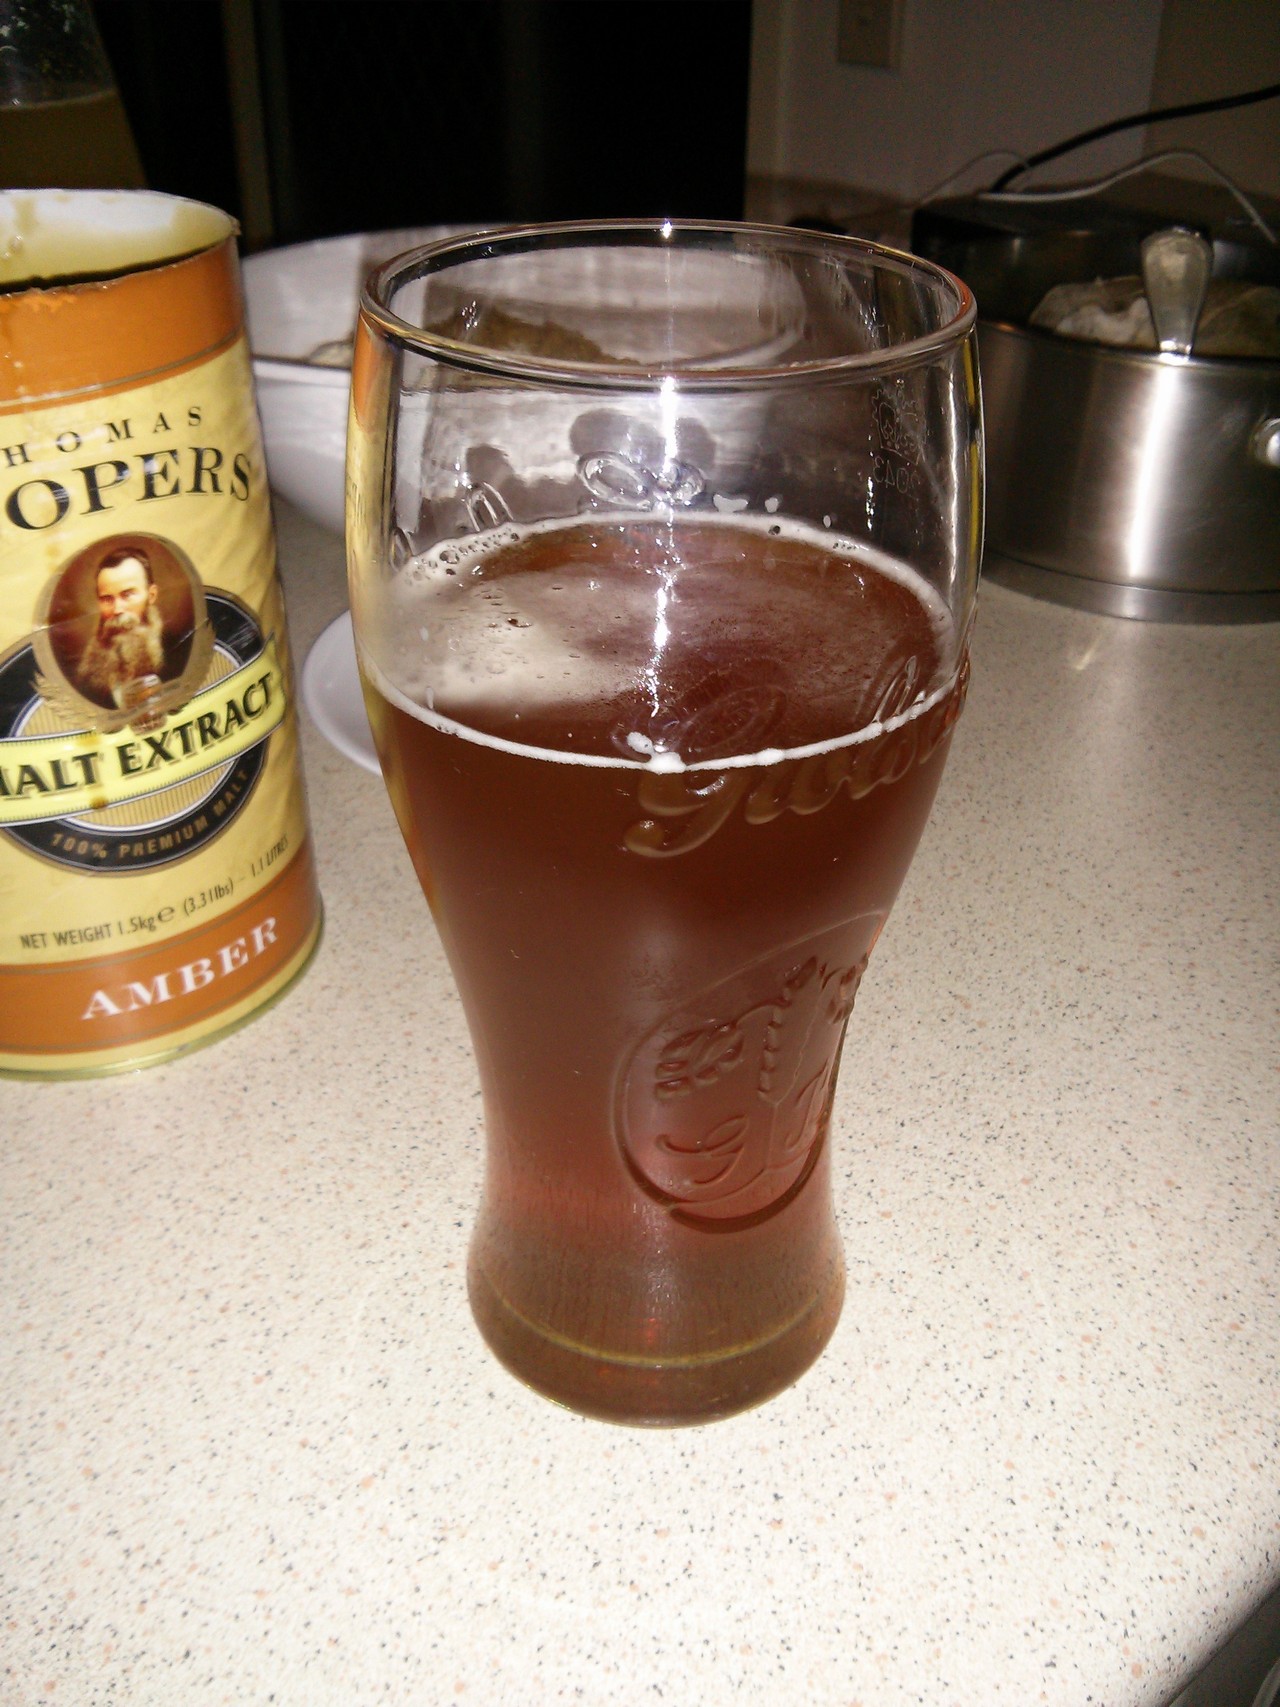
American IPA to pass the time
6. At the end of 60 minutes take pot off of boil and dissolve the remaining LME, DME, and brown sugar in brew pot mixing thoroughly to ensure it is dissolved.
7. Place pot in ice bath and bring temperature as quickly as possible down to 25C. This was accomplished in about 30 minutes.
8. At this point I took an SG reading (1.053) and tipped the contents of the brew pot into my fermentation vessel.
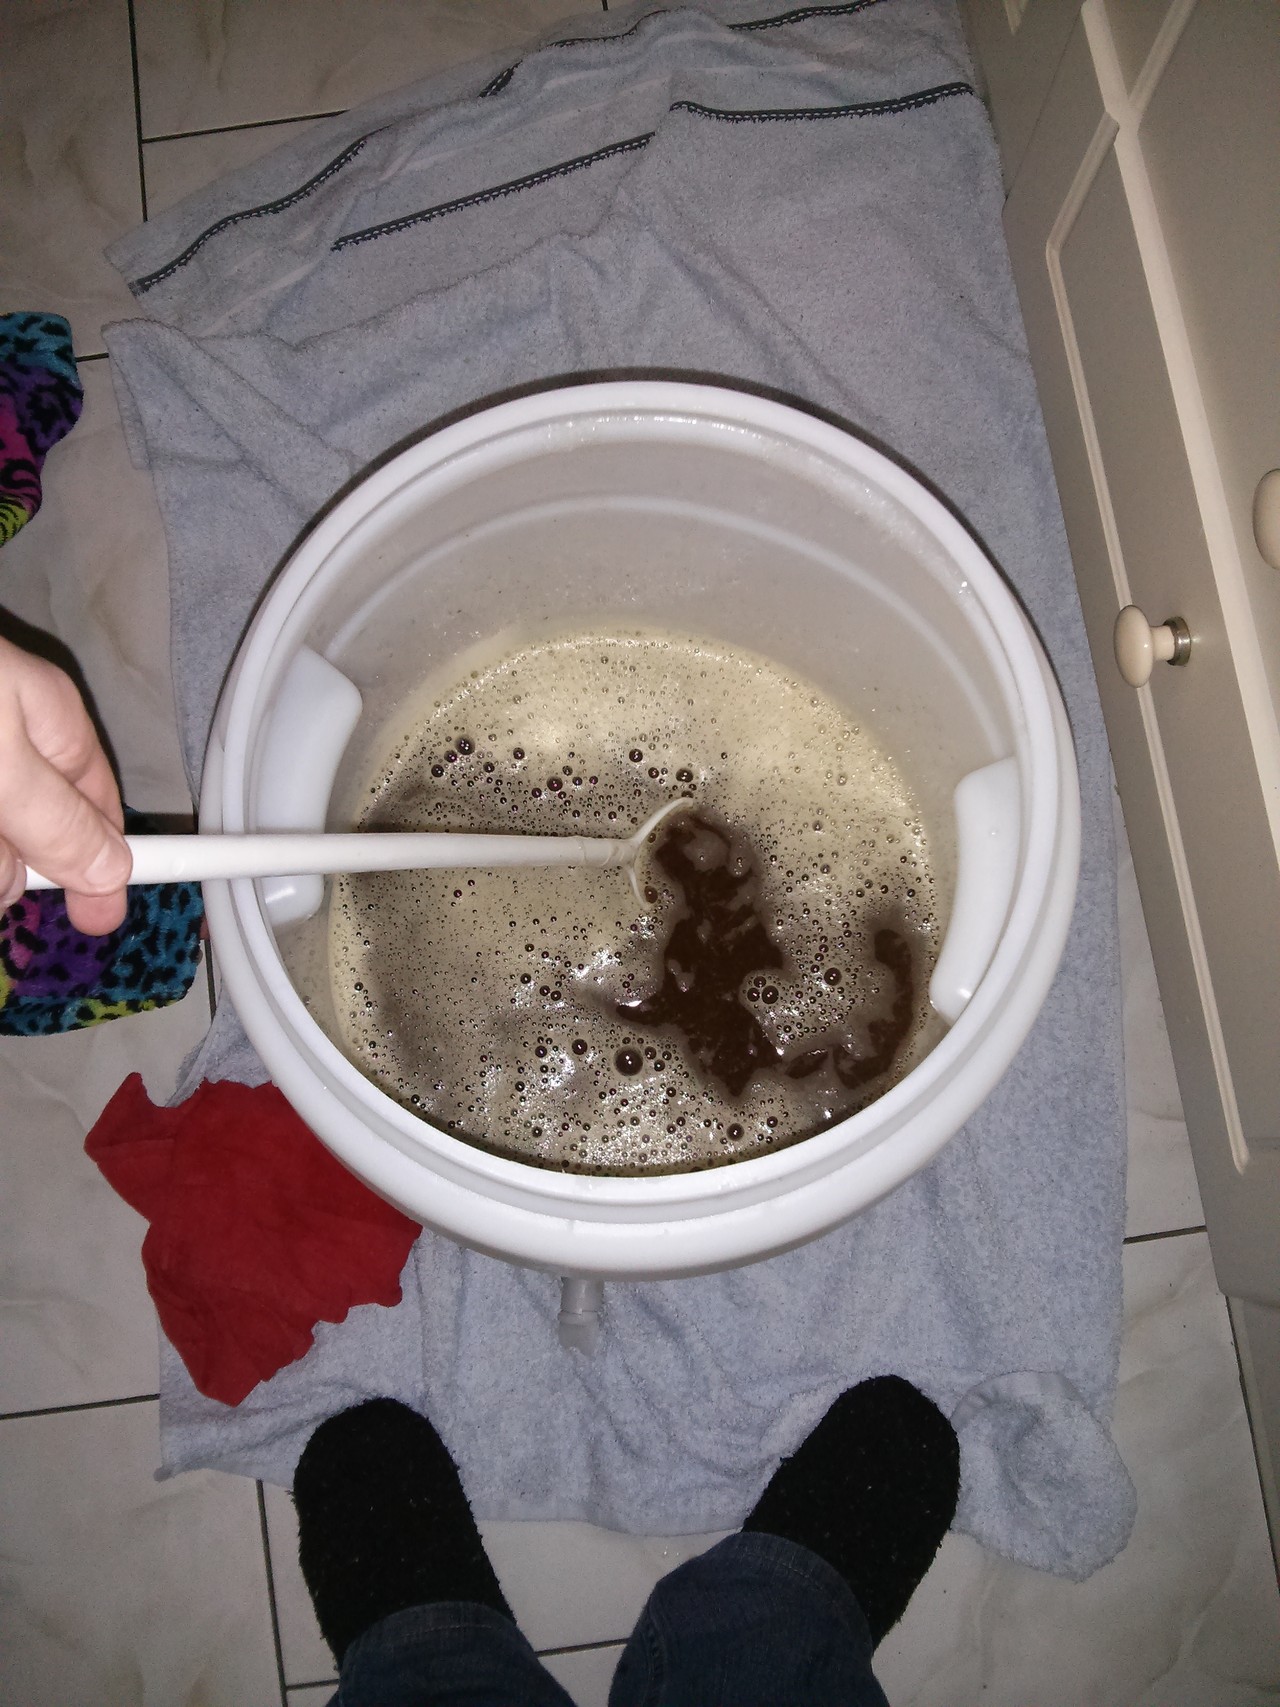
Stirring the Pot
9. I mixed the FV trying to aerate the wort as much as possible before tipping in the contents of my harvested yeast starter. The starter was made 24 hours previously by dissolving 50 grams of DME into 500mL of cool boiled water and pitching my harvested yeast into it and allowing it to ferment.

My Daughter Pitching the Yeast!
10. Once the yeast was pitched I sealed the FV, topped off the airlock with boiled water and moved it to my temp controlled fridge with a set temp of 18.5C.
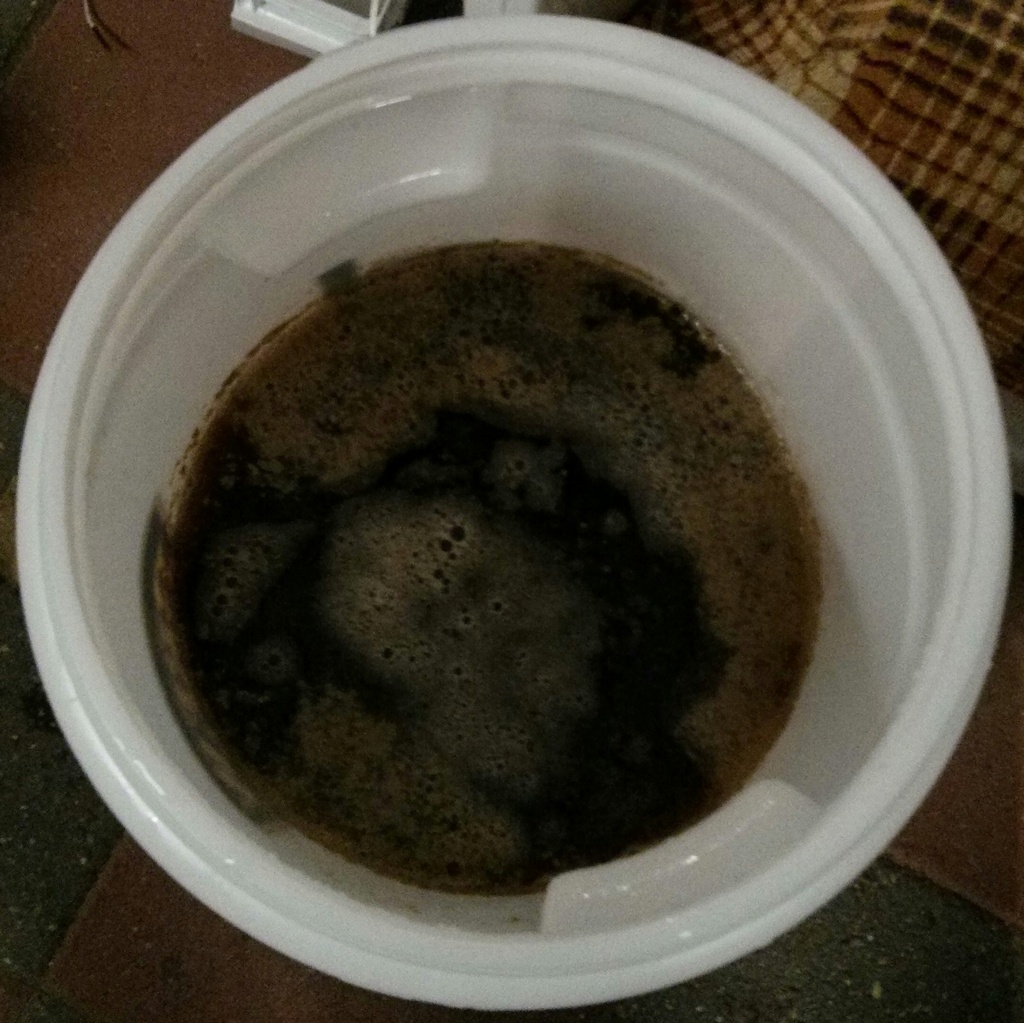
Fermentation Notes
I’ve checked the FV a couple times a day and haven’t noticed any airlock activity at all. However the fridge does smell of CO2 and beer and I can see that there has been krausen in the vessel and there’s as a good layer of trub on the bottom. On day 4 (14 June 2015) I put set temp up to 20.5C. I’ll take an SG reading after a week (17 June) and if fermentation has stalled I’ll pitch a new packet of US-05 yeast. If it hasn’t stalled I’ll dry hop and 3 days after that start cold crashing.
17 June 2015
I racked off sample today (7 days in FV) and took a gravity reading. Result was 1.015 with a target of 1.013 so it looks like fermentation is done. Interesting because I never saw any airlock activity (but I smelled it in the fridge). Sample had a lot of hops in suspension. I’ve put it into a glass in the fridge to allow the hops to settle out and consumption tonight. On the nose the sample was ever so citrusy, but not much other odour.
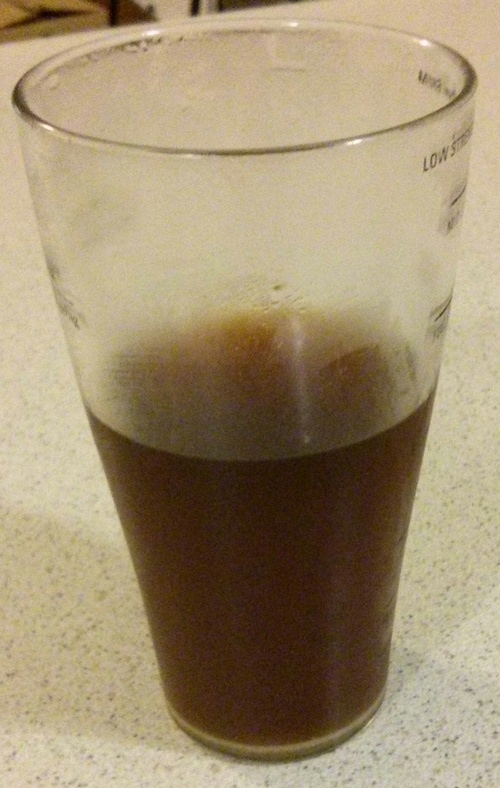
Sample for SG Testing
Have fined with 1/2tsp of gelatin dissolved into 150mL of hot water and swirled gently into the fermentation vessel. At the same time I added a muslin bag containing 50 grams of Cascade hops weighed down with marbles. I’ve turned off the temperature control on the fermentation chamber (fridge) to allow it to come to ambient and the plan is to cold crash on Monday (22 June 2015) and bottle on Friday 26 June.
Fermentation Vessel Open for Gelatine and Hop Bag
27 June 2015
I’d turned off the temperature control a couple days before bottling and the FV was about 10C when I started. I bulk primed with 84g of brown sugar. Total yield was 12.75L so that’s around 6.7g per litre. Yield was quite a bit higher than I expected, I had anticipated between 11.5L and 12L and was trying to prime at 7g / L as the carbonation of the last brew wasn’t as much as I would have liked. The bottling process was fine with the beer noticeably clearer than any other brews. My only observation was that the hop back was too tightly packed and I suspect I didn’t get as much of an impact from dry-hopping has I could have. Note to self, bigger bag next time. I’ve put a couple of bottles inside where it is warmer to carbonate a little sooner and will try one next weekend and report back!
First of the split rounds this week. The two games of real uncertainty are the Collingwood v GWS match up at the MCG and St Kilda v Melbourne at Docklands. Collingwood are sitting in the top four with 7 wins, all against the bottom 7 teams on the ladder. By contrast, GWS have beaten two top 8 sides, both at home out at Spotless. However, it is an away game for the Giants and this evens things up. Don’t surprised to see the team of top 10 draft picks roll the Pies though, and for that reason I’ve selected the Giants.. The other uncertain game is the scrubber showdown, the Saints v the Dees. It’s heaven versus hell and by hell it’s hard to pick a result. I’m going with the Saints simply because they’ve got St. Nick up forward and the Dees, well they’ve got Bernie who is a naughty little boy. Carn the Sainters (first time I’ve tipped them this year).
| Game | My Tips | System 1 | System 2 | System 3 | System 4 |
| Port Adelaide vs Geelong | Port Adelaide | Port Adelaide | Port Adelaide | Port Adelaide | Port Adelaide |
| Gold Coast vs Fremantle | Fremantle | Fremantle | Fremantle | Fremantle | Fremantle |
| West Coast vs Essendon | West Coast | West Coast | West Coast | West Coast | West Coast |
| North Melbourne vs Sydney | Sydney | Sydney | Sydney | Sydney | Sydney |
| Collingwood vs GWS Giants | GWS Giants | Collingwood | Collingwood | Collingwood | Collingwood |
| St Kilda vs Melbourne | St Kilda | St Kilda | St Kilda | St Kilda | St Kilda |
My own tips surpassed all the systems this week. They all missed the FRE/RIC and the NTH/WCE upsets and chose Essendon solely on ladder position and similar with the Western Bulldogs.
Results Round 10
| My Tips | System 1 | System 2 | System 3 | System 4 |
| 7 | 5 | 5 | 6 | 5 |
Current Leaderboard (Round 10)
| My Tips | System 1 | System 2 | System 3 | System 4 |
| 68/90 | 53/90 | 56/90 | 57/90 | 58/90 |
Carn the crowies! 🙂
| Game | My Tips | System 1 | System 2 | System 3 | System 4 |
| Fremantle vs Richmond | Fremantle | Fremantle | Fremantle | Fremantle | Fremantle |
| Carlton vs Adelaide | Adelaide | Adelaide | Adelaide | Adelaide | Adelaide |
| Gold Coast vs Sydney | Sydney | Sydney | Sydney | Sydney | Sydney |
| Essendon vs Geelong | Geelong | Essendon | Essendon | Essendon | Essendon |
| Port Adelaide vs Western Bulldogs | Port Adelaide | Western Bulldogs | Western Bulldogs | Port Adelaide | Western Bulldogs |
| GWS Giants vs Brisbane | GWS Giants | GWS Giants | GWS Giants | GWS Giants | GWS Giants |
| North Melbourne vs West Coast | West Coast | West Coast | West Coast | West Coast | West Coast |
| St Kilda vs Hawthorn | Hawthorn | Hawthorn | Hawthorn | Hawthorn | Hawthorn |
| Melbourne vs Collingwood | Collingwood | Collingwood | Collingwood | Collingwood | Collingwood |
I was quite right calling the COL/KAN and BRI/STK games as close and having the potential to go either way. Of course they went AGAINST the way I expected. All the systems outdid me this week, hasn’t happened much this year.
Results Round 9
| My Tips | System 1 | System 2 | System 3 | System 4 |
| 6 | 8 | 8 | 7 | 7 |
Current Leaderboard (Round 9)
| My Tips | System 1 | System 2 | System 3 | System 4 |
| 55/81 | 48/81 | 51/81 | 51/81 | 53/81 |